Note: An alternative method of sending messages with formatted text and images, that you may prefer, is to use Mail Stationery. For instructions on how to do that see "Using Mail Stationery"
Using embedded image attachments for HTML you can include images in the email message, rather than store them on a web server. This enables you to send any HTML file with images as a self contained message which does not require an internet connection to view.
This example provides a simple, fun method using Mail, TextEdit and a small bit of AppleScript for formatting text automatically as "crazy letters" to send out a "Happy Birthday" email announcement using an HTML file and a picture. This example creates the HTML using Mail and TextEdit, but any HTML editor can be used. The only requirements are that the HTML references the images relative to the file, and the images must reside in the same folder as the file.
Note: It is assumed that you have already entered your mail server settings in Mailings. If you have not done so please consult the help topic "Server Settings" for help doing so.
Step 1. Create the HTML message
This example is going to use TextEdit to create a simple HTML message with an embedded image. To create the HTML message we are going to use TextEdit, along with Mail and AppleScript Editor.
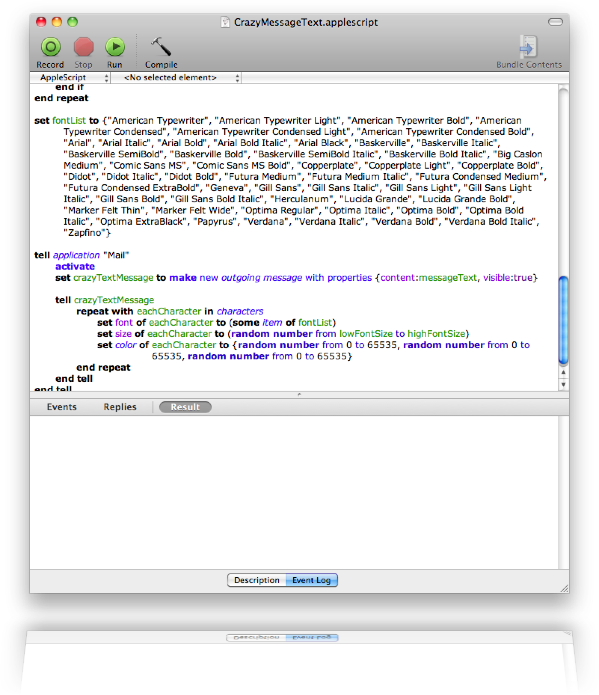
The reason we are using Mail and AppleScript Editor is that there is a sample Mail script we can use to create the text in fun "crazy letters." This script is on your system. It used to be located in the AppleScript folder in your Applications folder, but on Snow Leopard it is located here:
/Library/Scripts/Mails Scripts/Crazy Message Text.scpt
If you can't find this script on your system you can download it from here, and then open it into AppleScript Editor to run it. Try it, it's fun!
Once the script is in AppleScript Editor, click the "Run" button in the toolbar to run the script:
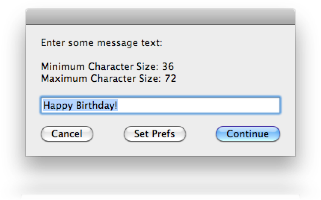
You will be presented with a dialog box for entering the text to format as "crazy" :
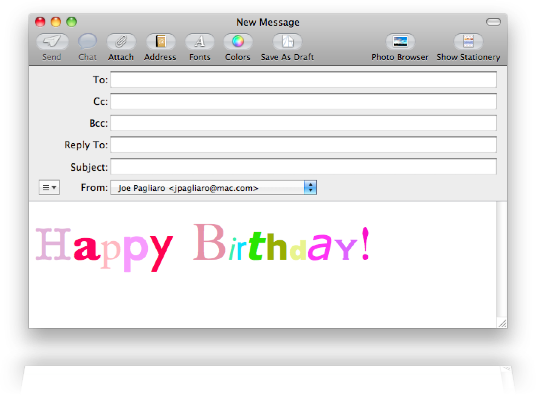
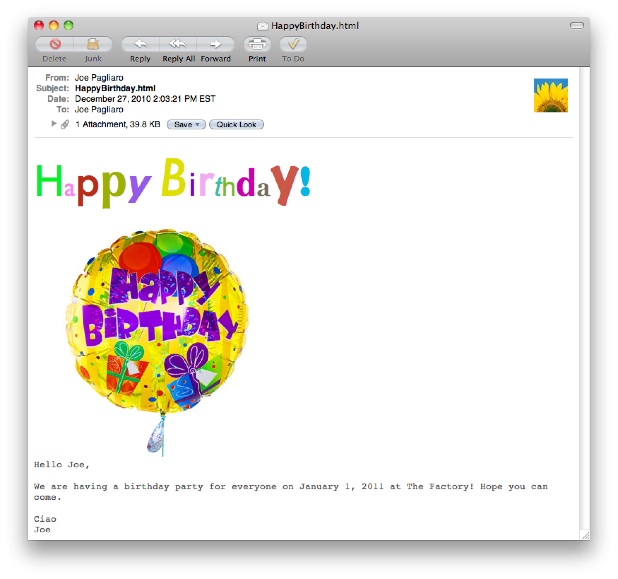
Enter the text "Happy Birthday!" and click "continue. Then a new message in Mail should display, similar to this:
Select all the text in the Mail message, and then copy it to the clipboard. Open TextEdit. At the top of the new document enter:
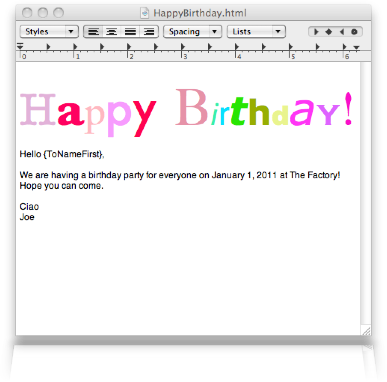
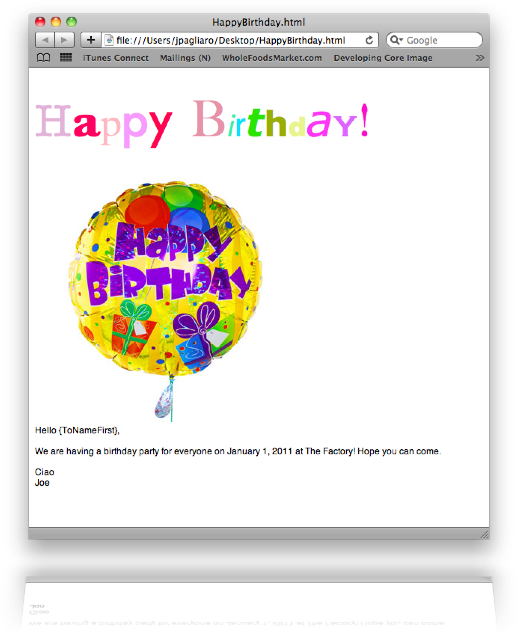
Hello {ToNameFirst},We are having a birthday party for everyone on January 1, 2013 at The Factory! Hope you can come.Ciao Joeand paste the crazy text at the top, as shown below. Then save the document as "HappyBirthday!.html" (no spaces) using the format "Web Page (.html)":
Step 2. Link the HTML message to an image file
We would like to include an image in the message. Drag the following image to your desktop, and make sure it is named "Happy-Birthday.jpg" :
We want this image to be loaded at the top of the message. So we need to edit the "source" or HTML of the file "HappyBirthday!.html" we created in the previous task.
To do this open the file in Safari, or any other browser that can display the source of an HTML page. You can load my copy of the file by clicking it here: HappyBirthday!.html
To see the source in Safari select "View Source" from its "View" menu. The source has a "body" section that looks like this:
<body>
 <p class="p1"><br></p>
 <p class="p2"><span class="s1">H</span><span class="s2"><b>a</b></span><span class="s3">p</span><span class="s4">p</span><span class="s5">y</span><span class="s6"><b> </b></span><span class="s7">B</span><span class="s8"><i>i</i></span><span class="s9">r</span><span class="s10"><b><i>t</i></b></span><span class="s11"><b>h</b></span><span class="s12">d</span><span class="s13"><i>a</i></span><span class="s14">y</span>!</p>
 <p class="p1"><br></p>
 <p class="p3">Hello {ToNameFirst},</p>
 <p class="p1"><br></p>
 <p class="p3">We are having a birthday party for everyone on January 1, 2013 at The Factory! Hope you can come.</p>
 <p class="p1"><br></p>
 <p class="p3">Ciao</p>
 <p class="p3">Joe</p>
 </body>
It is the body of the email which the user sees. Just before the part "Hello {ToNameFirst}," we want to see the balloon image. So, copy the source text from Safari into a "plain text" TextEdit document. To do this go to TextEdit and make a new document, then select "Make Plain Text" from the Format menu. Then paste the HTML source into this new document. Just before the line
<p class="p3">Hello {ToNameFirst},</p>Insert this HTML
<img src="Happy-Birthday.jpg">This line specifies where the image is located, namely in the same folder as the document, and named "Happy-Birthday.jpg". The "body" section should now look like this:
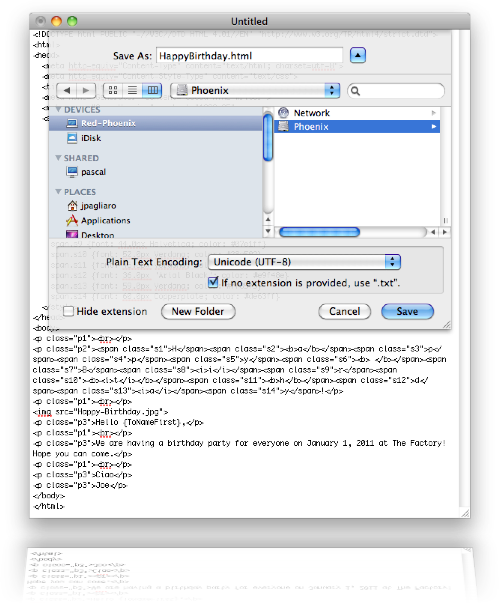
<body>
    <p class="p1"><br></p>
    <p class="p2"><span class="s1">H</span><span class="s2"><b>a</b></span><span class="s3">p</span><span class="s4">p</span><span class="s5">y</span><span class="s6"><b> </b></span><span class="s7">B</span><span class="s8"><i>i</i></span><span class="s9">r</span><span class="s10"><b><i>t</i></b></span><span class="s11"><b>h</b></span><span class="s12">d</span><span class="s13"><i>a</i></span><span class="s14">y</span>!</p>
    <p class="p1"><br></p>
    <img src="Happy-Birthday.jpg">
    <p class="p3">Hello {ToNameFirst},</p>
    <p class="p1"><br></p>
    <p class="p3">We are having a birthday party for everyone on January 1, 2013 at The Factory! Hope you can come.</p>
    <p class="p1"><br></p>
    <p class="p3">Ciao</p>
    <p class="p3">Joe</p>
  </body>
Now save the file as "HappyBirthday.html" on your desktop. It must be saved right next to the balloon image you saved to your desktop earlier. Do not save the file with a "txt" extension, but rather an "html" extension:
Now open the file you just saved in Safari to make sure the img source link you added is working. In Safari it should look like this:
If the balloon image is not showing then make sure it is located in the same folder as "HappyBirthday.html".
The HTML content message is done!
Step 3. Add the HTML file to the Mailer window
Now simply drag the file "HappyBirthday.html" on your desktop from the Finder into the "Web Page or File" text field.
The type of message we are sending is HTML with embedded images. This means that the images do not need to reside on a server, and the image is self contained and viewable even without a network connection. In order to create this type of message the images in the message must be attached to the message, and the image source links in the HTML must contain "Content ID" tags which associate the link with the attached file. This is known as "HTML with embedded images." You can read more about this type of message in Attachments.
Mailings can do this all for you, provided you:
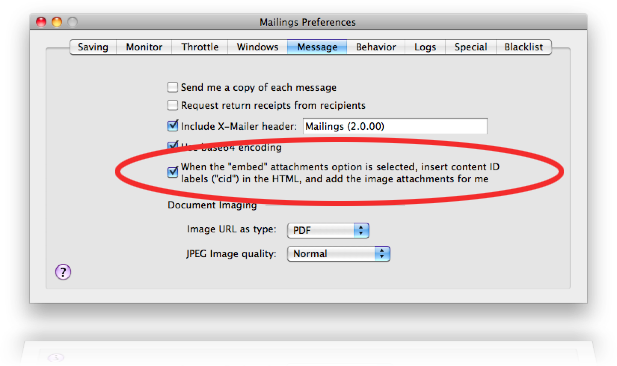
1) Turn this feature on in preferences (it is on by default.) Open the Preferences window, select the Message tab, and check the option shown:
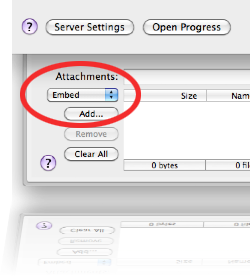
2) Specify the attachment type as "embed" - this is important because this is how Mailings knows you want to create an HTML file with embedded images. Open the Attachments drawer by clicking the "Attachments" button under the "Subject" text field in the Mailer:
3) Make sure the images are in the same folder as the HTML file and that the image source links references the images by their names (duplicate image names should be avoided.). This is essentially what we did in the previous task "Link the message to an image"
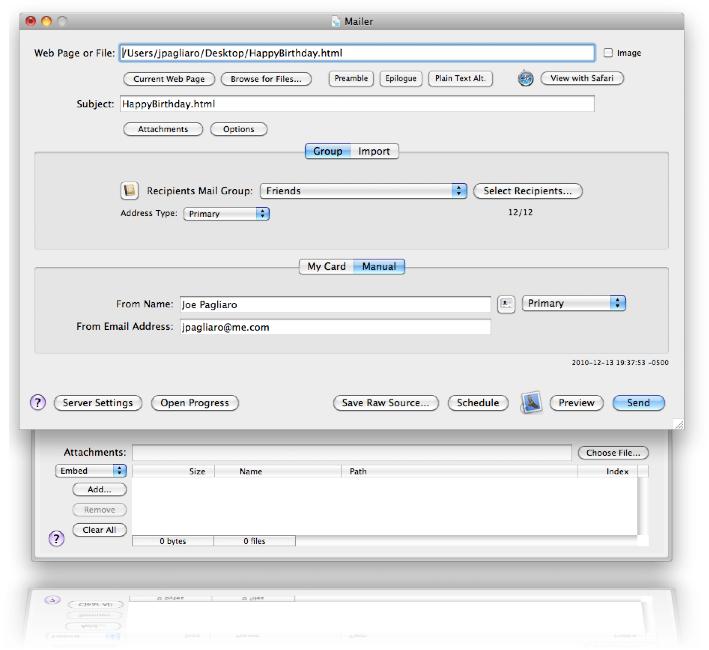
When Mailings sends the message it will automatically insert the cid's labels in the HTML image links and attach the images by adding them to the Attachments window. The mailer window should now look like this:
Now you can use the "Preview" button to send yourself the message to verify it. You should see something like this when the message is received.