macOS Catalina (version 10.15) or above
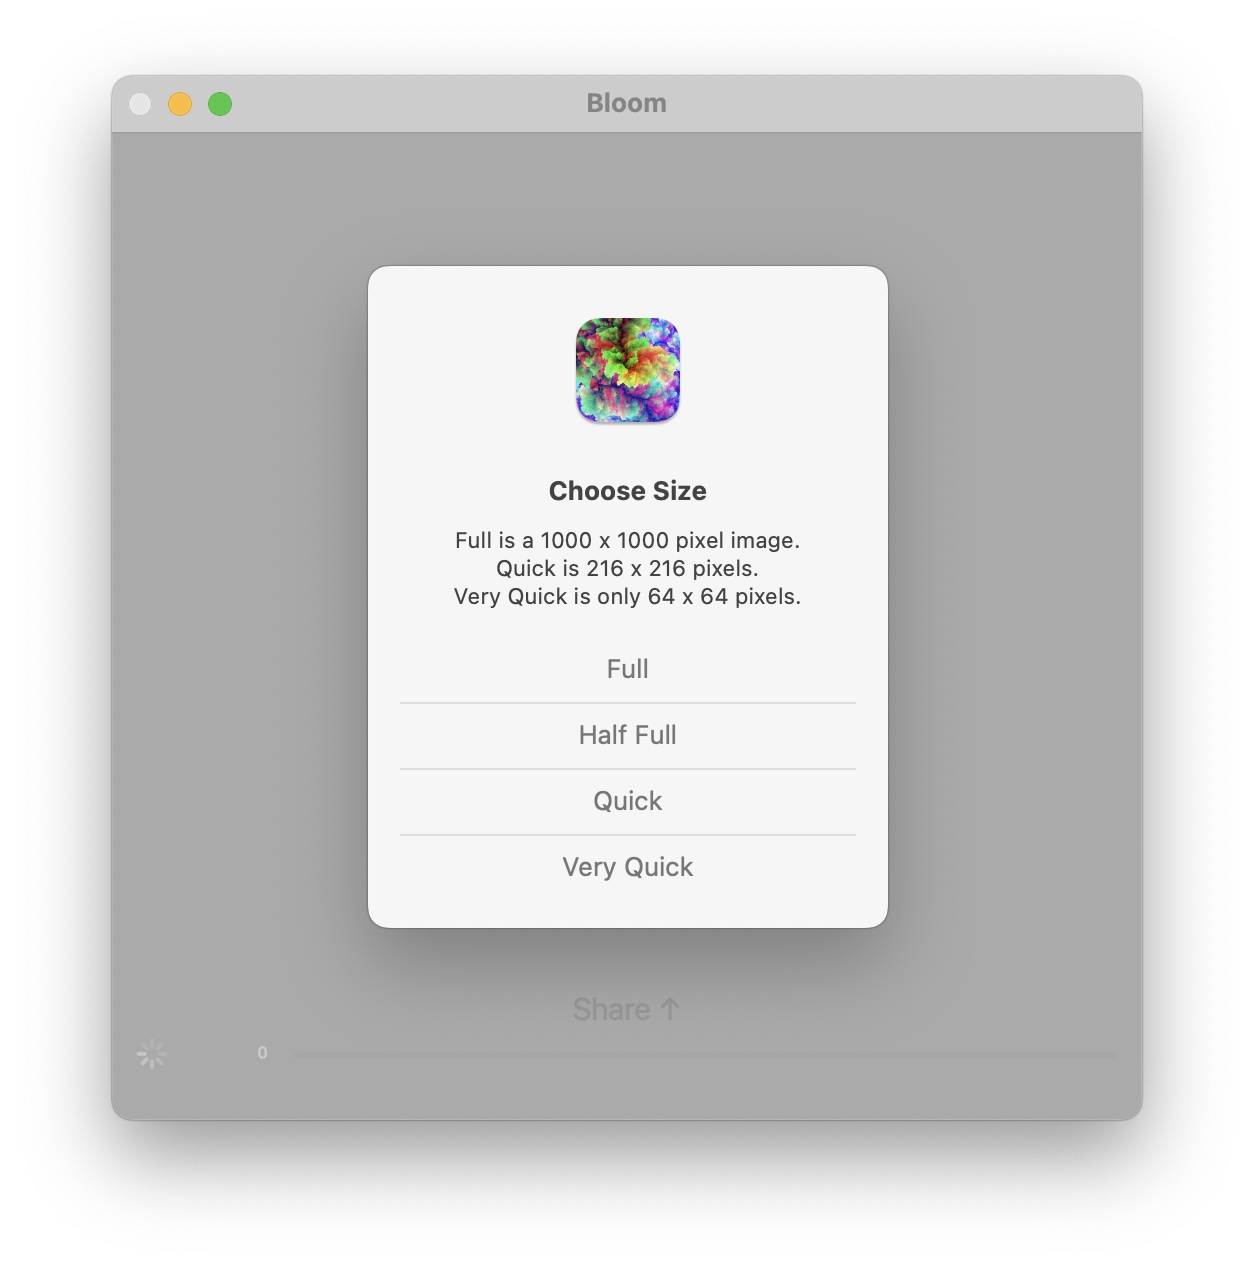
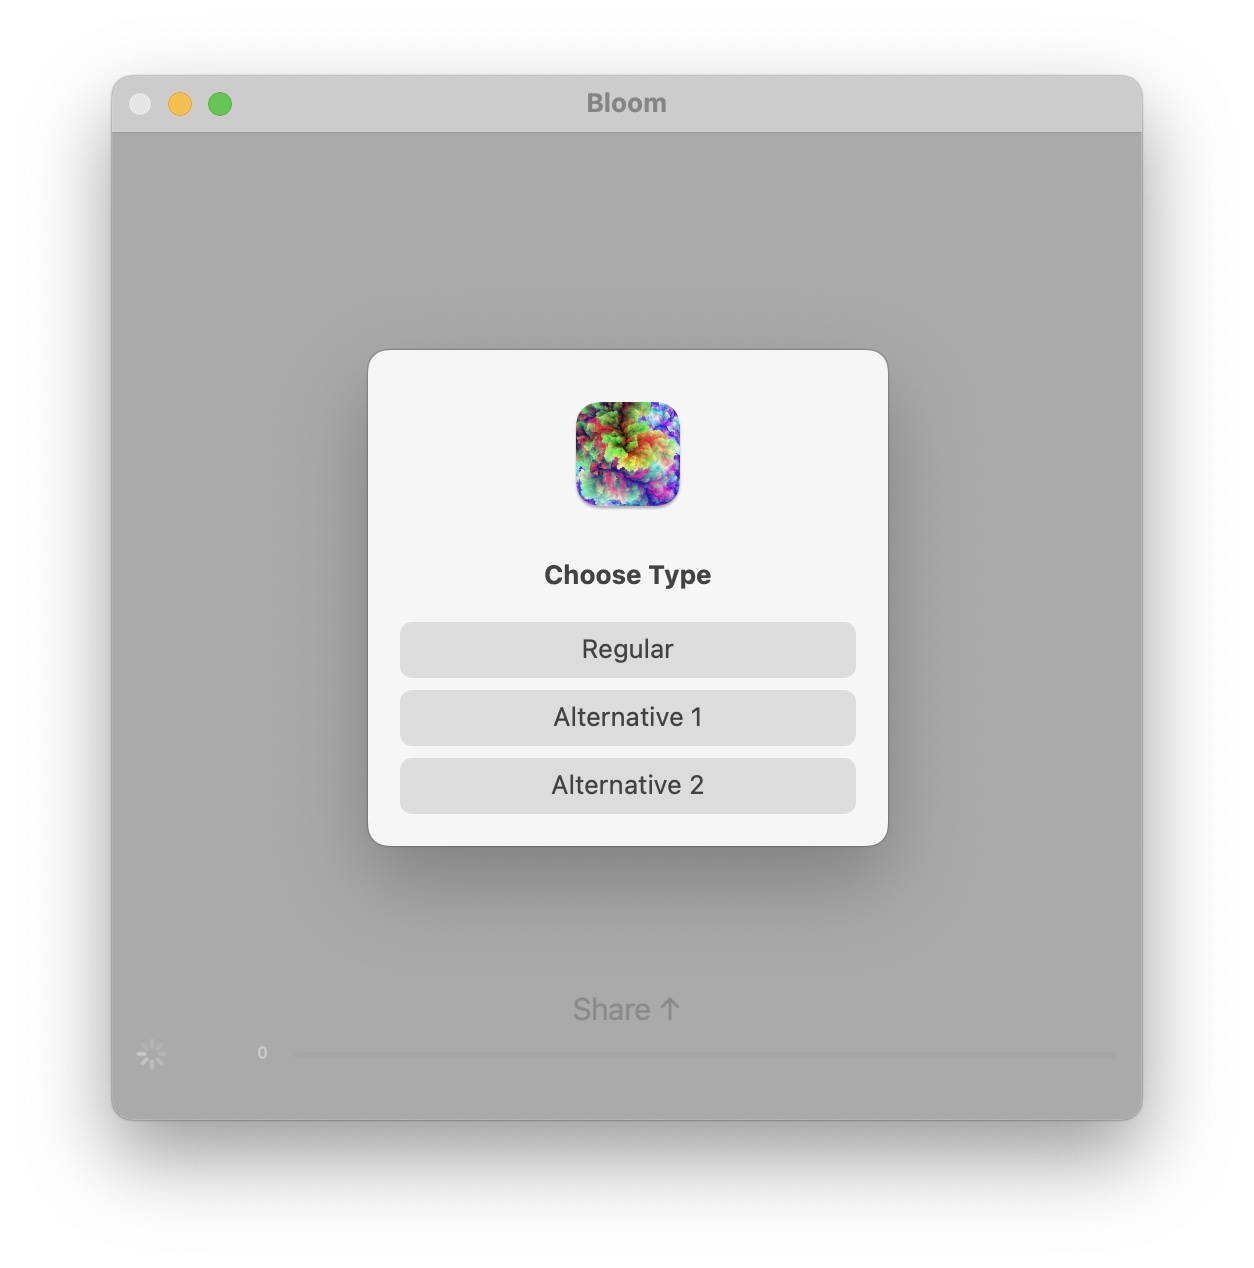
Click screenshots to zoom.
Choose Size
Choose Type
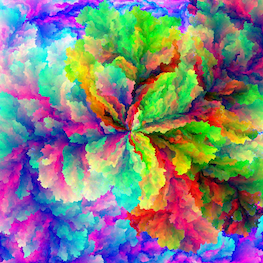
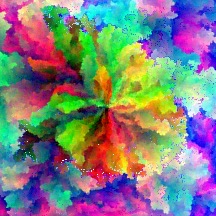
Generation Sample