
This Quick Start shows you how easy it is to send a mailing in no time at all, using a small set of tasks. A much more elaborate introduction to the features of Mailings is provided in "Mailings Tour."
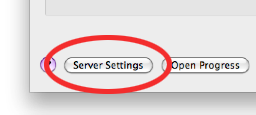
Launch Mailings and when a new Mailer window displays click the "Server Settings" button in the lower left corner of the window:
You can copy the settings from your mail client, like Mail, into Mailings manually. In your mail client open the account settings. Copy the following information:
*Note that if you do not need to authenticate to the mail server , leave the setting "Automatic" and set the username and password text fields to blank, i.e. no entry.
If you run into problems with setting up your server please consult Troubleshooting.
Open Safari (or another supported browser: Camino, Chrome, Firefox, Flock, Omniweb, or Opera.) to the web page: https://www.limitpointstore.com/products/mailings/
Then in Mailings click the "Current Web Page" button to load the URL of the web page into the "Web Page or File" text field. Make sure that the page above is the frontmost window in Safari.

If this did not load the specified page above, make sure you do not have multiple browsers open; Mailings uses the first supported browser it finds.
Of course you can also type or copy and paste the URL into the "Web Page or File" text field.
If you want to send email with formatted text, without images you can use TextEdit to do so.
Although the Mailings text editors "Preamble," "Epilogue" and "Plain Text Alternative" can not send formatted text, you can still send text-only messages with formatted text with tools you already have. One such tool is TextEdit, that comes on every Mac.
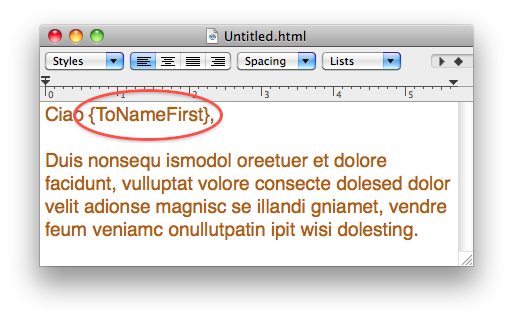
Using TextEdit you can create a docuemt with formatted text, including links to URLs on the Internet, and even including template tags for personalization. Like this message document, where the font style and font color have been changed, and it includes the template tag "{ToNameFirst}" which is replaced by the recipients first name when the mail is sent:
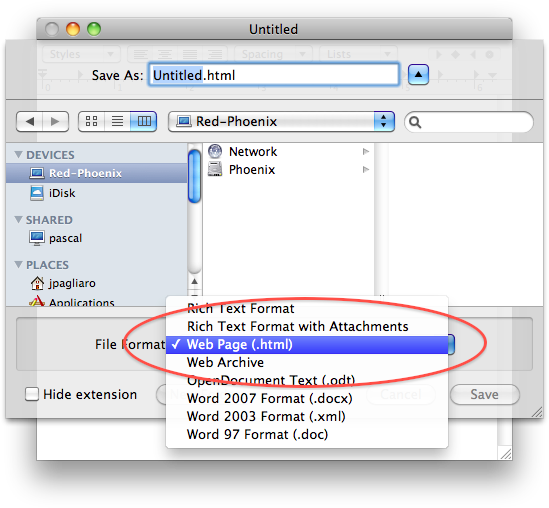
Then all you need to do is save the document as a "Web Page (HTML)" by choosing "Save As..." from the TextEdit File menu:
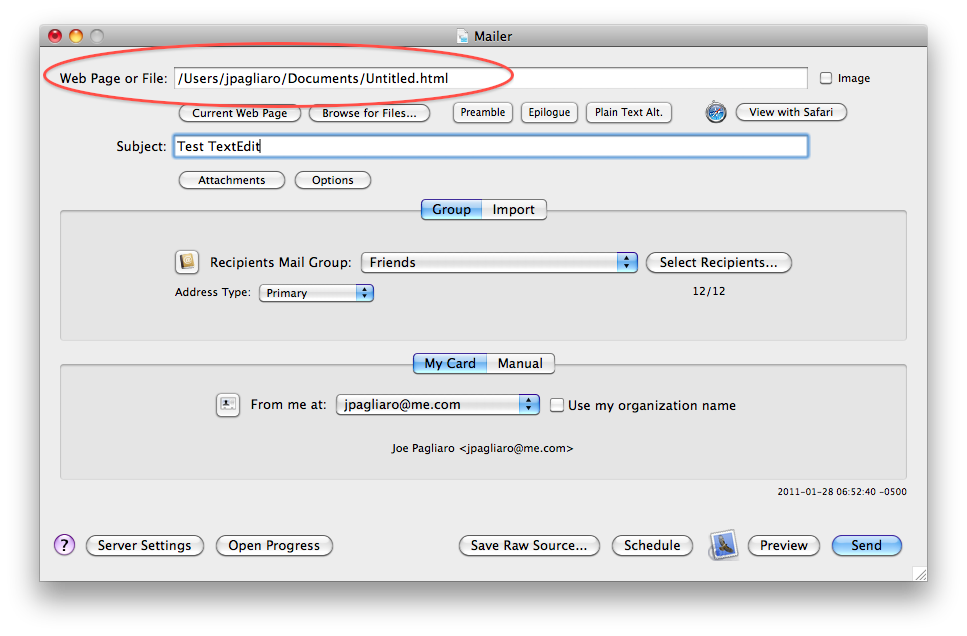
After the file is saved all you need to do is either drag it into the "Web Page or File" text field, or use the "Broswe for Files' button to load the file:
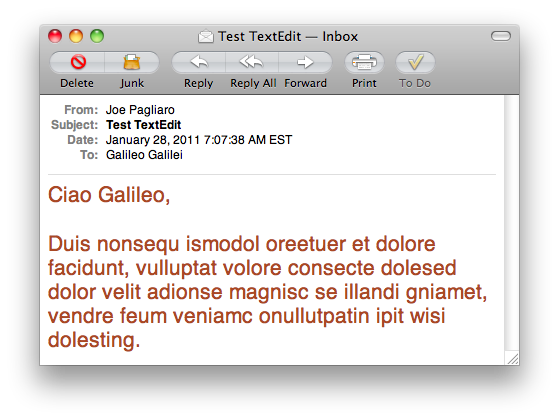
When you receive the test message the template tag is replaced by the recipients name, and the font style is preserved. Here is what it looks like in Mail:
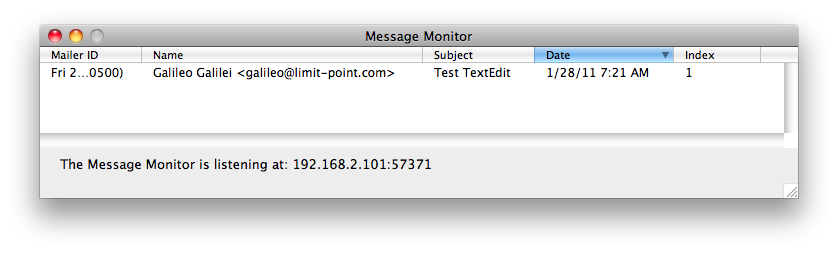
Since the TextEdit document you saved is HTML, if you had Message Monitor running you can track the message:
Now specify the recipients of the message. In this Quick Start we enter one recipient manually. Normally you will import a much larger number of recipients from a text file, or an Address Book group. See "Mailings Tour" for a more elaborate example.
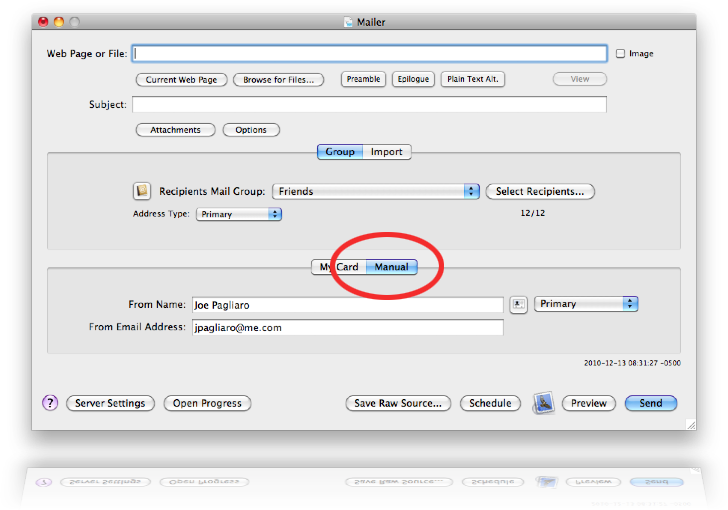
First you should specify who this email is from. Select the "Manual" tab in the Mailer window, and enter your name and email address. This name and email address may need to match the address associated with the mail server you are using - some mail servers require that.
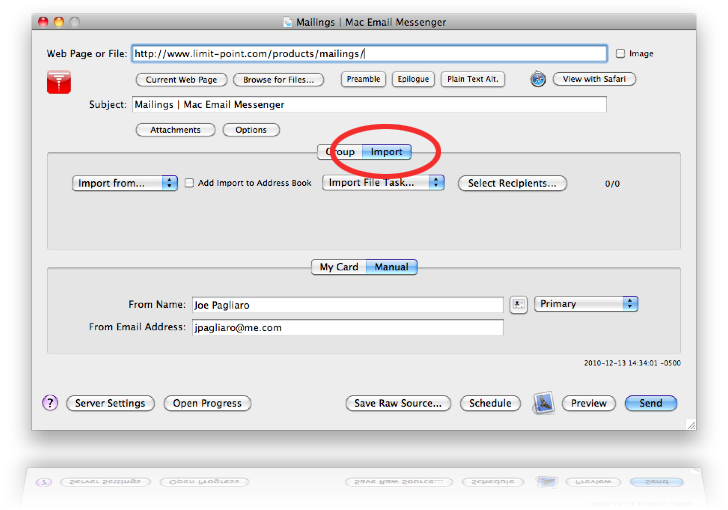
Now select the "Import" tab:
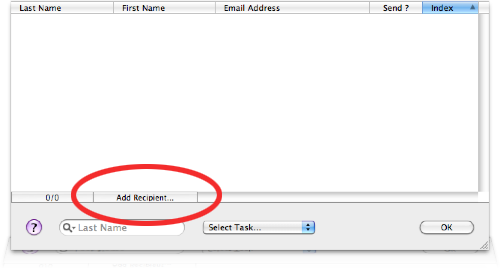
Click the "Select Recipients" button on this tab, to display the recipients window. At the bottom of this window is an "Add Recipient" button:
Click this button to open the "Add Recipient" window to add a recipient. In the "Add Recipient" window you can use the Address Book button to display the "People Picker" to choose addresses from Address Book, or enter it manually:
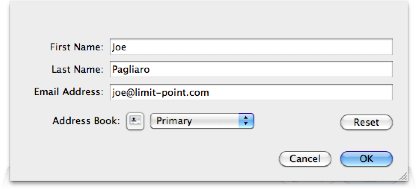
Since you want to check the email arrived, enter an address you have access to.
Click "OK" to add this recipient to the Select Recipients window:
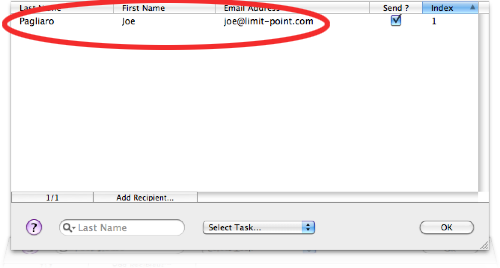
Click "OK" to dismiss this window when you are done adding the recipients you want to send this email to.
The message is addressed and its content is set to a web page. Let's test it.
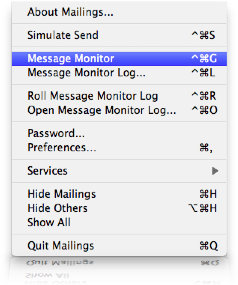
Since we are sending an HTML message we can track its delivery with the Message Monitor. To do this you just need to turn it on. Select "Message Monitor" from the Mailings menu:
An alert will advise you that the Message Monitor is on:
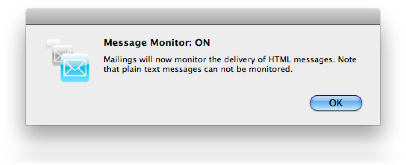
See Message Monitor for more information.
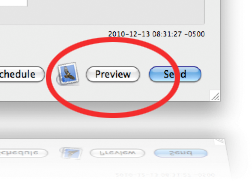
Click the Preview button to send the message to the "from" address specified in the Manual tab above:
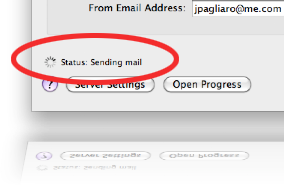
Status messages are displayed in the lower left as the preview is assembled and sent:
Go to your mail client and check your in box for the preview:
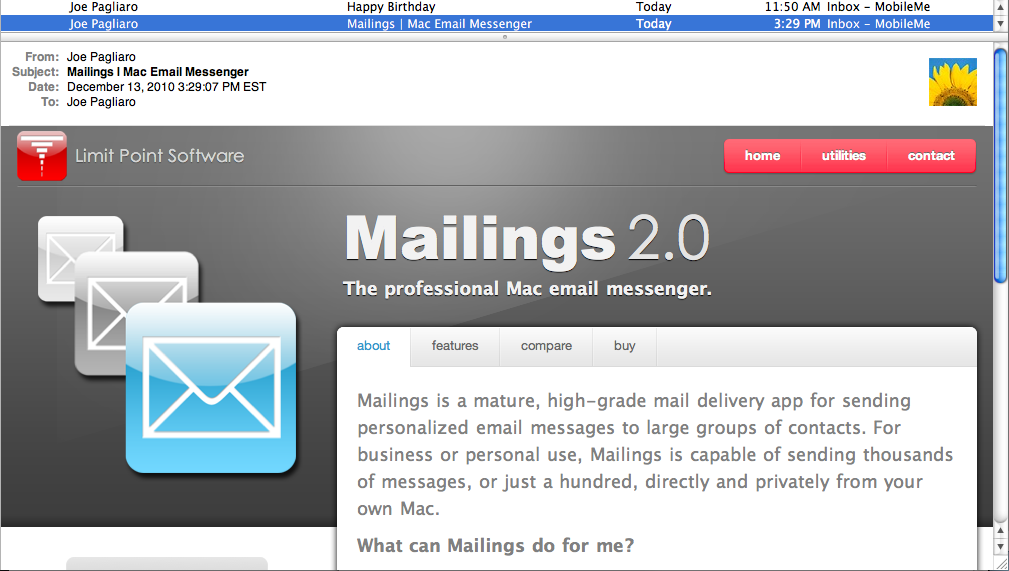
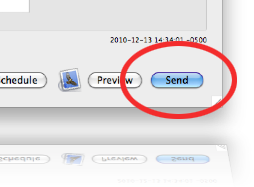
The message was previewed and looks good, it's ready to send. Click the "Send" button to do so:
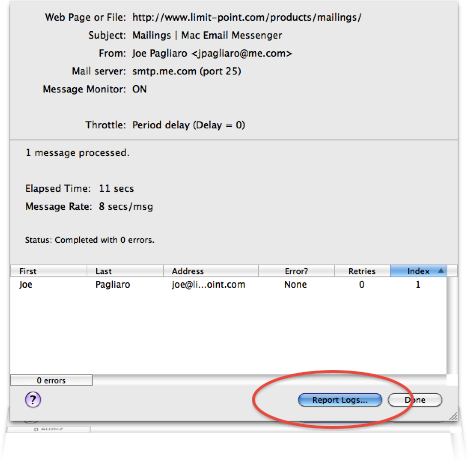
The progress window is displayed. When all messages have been sent a report is automatically generated for you, along with a "raw source" archive of the message (an "eml" file.) You can see the report by clicking on the "Report Logs" button which will take you to the location of the reports folder:
This folder is also always accessible using the "Report Logs" menu item in the File menu.
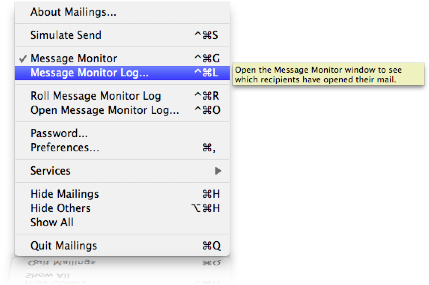
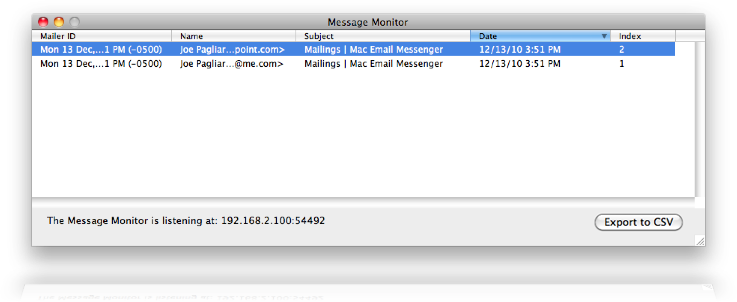
Finally, open the mail message you sent. This will trigger a message sent to Mailings indicating the message was opened, and this alert is logged to the Message Monitor window. Select "Message Monitor Log" from the Mailings menu to open the log window.
New logs, like this one, have no entries:
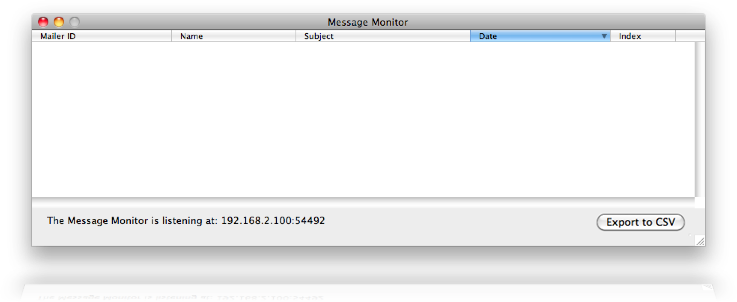
But when someone opens the mail message, an entry is displayed showing the approximate time the message was opened:
To learn more about using Mailings please try the hands-on tour: "Mailings Tour." The tour introduces many more features of Mailings using an example sending an HTML email with embedded images.
